Bloglovin

Follow on Bloglovin

Friday, June 6, 2014

Teaching Is Like Gardening

My garden grows and thrives, but no matter how much I toil, it is always a work in progress.

 Plants come in different shapes and sizes. 
Some are ready to please,
and others are a bit rough around the edges. 

Some are just emerging.

Others have trouble developing.

And still others are at risk of failing.

Different members of my garden mature at different times.

While some are in full bloom,

others are just forming blossoms.

It's hard to know just what to expect when I step into my garden at the beginning of a new season. Every year holds new challenges. I survey the situation, make a plan, gather the necessary tools, and begin the never-ending task of tending to each individual plant. 

My garden grows and thrives, but no matter how much I toil, it is always a work in progress.

Wednesday, June 4, 2014

Straw Towers

Engage your students in a simple design activity. All they'll need are straws, tape, and a little ingenuity!

I put my students in groups of three. Each group received 50 plastic straws and one roll of transparent tape. The instructions were simple: build the tallest freestanding tower.

Students tried a variety of structures. Some were quite tall, but they could not stand freely.


Finally, students in one group stood back and looked at the progress of the other groups. "Everyone is trying to build the tallest structure, and none of them will stand," they commented. "Let's build a shorter tower that can stand on its own." They did it, and guess who won?


I recommend this activity for a fun end-of-year activity - - - or anytime! It really gets kids thinking.

Enjoy!

Sunday, May 25, 2014

Circles Craft

How can a stack of paper plates make reviewing circles more fun? I gave each student a paper plate and displayed these definitions on the board:
  • center - middle of circle
  • radius - line segment from center to side
  • diameter - line segment from side to side through center
  • cord - line segment from side to side not through center
  • circumference - distance around


When they finished labeling, we used the other side to display measurement of the paper plate. (The plate was just over nine inches; we rounded this number to make it easier for fourth graders to handle.) From the diameter, they were able to calculate the radius, and they were excited because I "let them" use formulas, calculators, and the almighty pi to compute area and circumference. I displayed the formulas, and away they went!
  • d = 2r
  • C = π d  or  C = 2 π r
  • A = π r 2


Enjoy!

Tuesday, May 13, 2014

Branches of Government Mobile

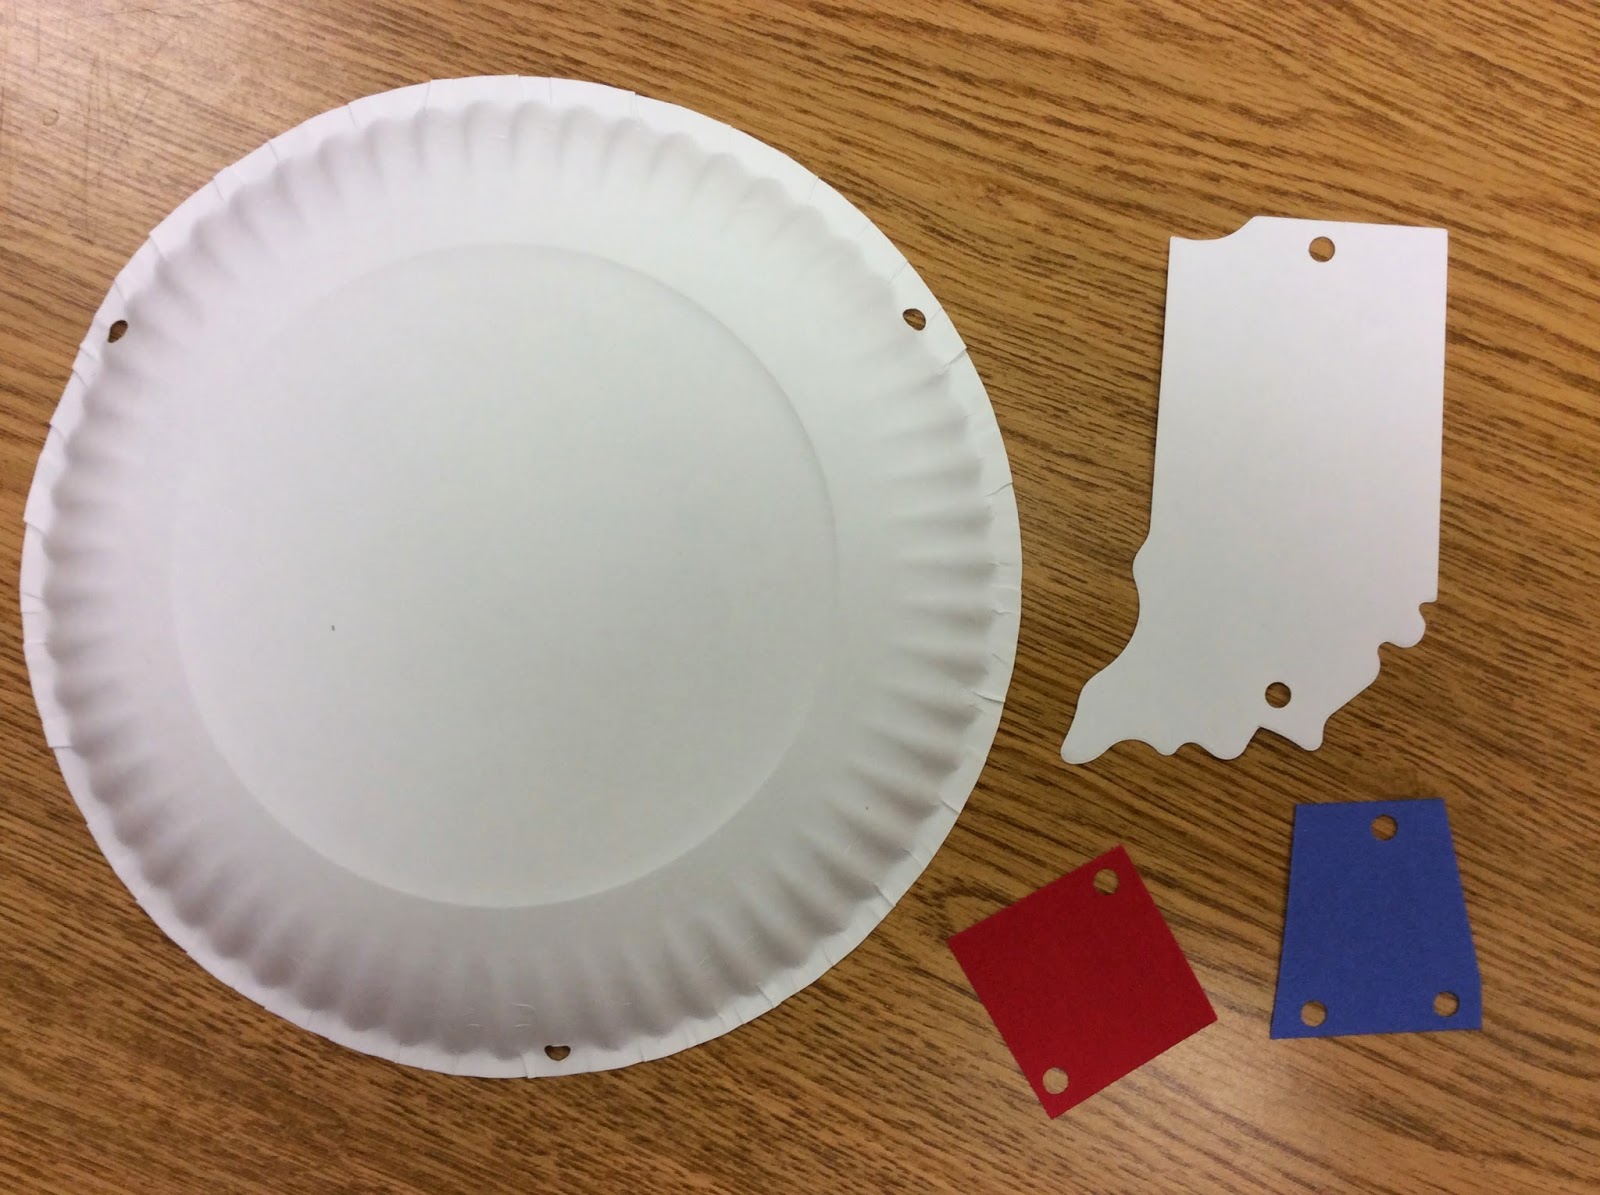
Here's a nifty craft idea to teach your students about the branches of government. The photos feature the Indiana state government, but the activity can be easily altered for any three-branch government. A template for the United States federal government can be downloaded below.

For each mobile, you will need a paper plate, twelve paper clips, three large shapes to display the names of the branches, three medium-sized shapes for the positions, and six small shapes for the duties. You'll also need a paper punch and string. You may use a template (as shown below) and ask students to cut and paste, or simply ask them to write the information on the pieces.


Have students punch three holes along the side of the paper plate. In addition, they should punch one hole at the top and bottom of the large piece, one hole at the top and two holes at the bottom of each middle-sized piece, and one hole at the top of each small piece.


Now they can cut and paste (or write) the names of the branches, positions, and duties on the pieces. (Click here for a template for the United States federal government.)


I've found that using paper clips to attach the pieces is much easier than string. Students tend to make errors connecting the correct branch, positions, and duties. When they use paper clips, the pieces slip off easily to be rearranged.


Finally, they tie string to the holes and tie at the top. And voila! You have a fun and easy branches of government craft.


Enjoy!

Saturday, May 10, 2014

Science Is for the Birds!

In celebration of International Migratory Bird Day, let's take a look at some awesome freebies for your classroom. Resources for teaching about birds abound, and birds are everywhere!

an egret spotted in the wetland behind my house

One of my favorite sites is Project Beak. The portion of their website labeled Adaptations provides online text, graphics, and video on birds' feathers, wings, beaks, feet, skeletal system, internal organs, senses, communication, reproduction, and migration. Kids can even build a bird! They choose the bird's wings, head, feet, and habitat. The site then explains the advantages of each of its adaptations and calculates its chance of survival in the chosen habitat.

Project Beak also offers information about birds and people, Nebraska habitats, rare birds, and birding basics.

The Cornell Lab of Orinthology site hosts Live Bird Cameras. My students were mesmerized by the barred owls cam yesterday! They have also posted some great videos to help kids identify birds:


Finally, try Bird Sleuth, K-12 for kits, free resources, workshops, and webinars.

Would you like crafts and activities related to birds? Why Birds Matter: Educational Activities from Environment for the Americas has dozens of great finds. You'll find New World Vultures activity book, Predator-Prey Game, coloring pages, and much more.

Before I sign off, I can't resist posting one more picture from my back yard. Yes! The ice is off the wetland, and the swans are back!


Happy International Migratory Bird Day!

Sunday, April 27, 2014

I Spy

I Spy books aren't just for little kids! My fourth graders had a blast reading these seek-and-find books and then writing their own. 


Here's how we did it:
  1. Ask students to bring in a collection (or just random) "junk" from home. They can bring toys, stuff from their family's junk drawer, whatever. The pages are more effective if students bring at least 35 items.
  2. For students who forget to bring their collections, open your classroom games, manipulatives, and supplies.
  3. Allow students to organize their items all around the room. (Be prepared for a little organized chaos.)
  4. Take photos of each collection. (This year I used an iPad and found it easier to manipulate than a standard camera for this project.)
  5. Upload photos.
  6. Create a document (I prefer PowerPoint) and insert the photo. Choose a font and type "I spy" to get them started. Save with child's name in file.
  7. Analyze the rhythm (four beats per line), rhyme (couplets), and organization (two stanzas with two lines each) of several I Spy poems from one of the books.
  8. Ask each student to type a poem using this format. In my experience, most of them will need some help, so it's a good time to call on your parent helpers or classroom aides.
  9. Check poems and print.
  10. Bind into a classroom book . . . and use a second copy as a hallway display. Share with younger grades. They love it!
Once students get the hang of writing couplets, they can't get enough. One of my students just had to write three stanzas.


Enjoy!

Sunday, April 20, 2014

Helping Kids with Difficult Texts

I know that my students need to read more difficult texts in order to grow as readers. But taking them to the next level is risky. What if they fail to comprehend? Ah, the double-edged sword.

The mystery novel I had chosen for my advanced fourth graders, The Westing Game, had no less than twenty key characters and a winding, intricate plot written to mislead the reader. My students, on the other hand, were exhibiting evidence of the dreaded "surface reading." How could I help them understand this book (and grow as readers)?

My unit already used literature groups with key questions designed to bolster comprehension, but that didn't seem to be working. I'd have to use my walls!

First, we began to summarize the chapters (CCSS RL.4.2). After hanging them on the wall, we discussed the plot in depth.


Second, students began listing information about each of the main characters (CCSS RL.4.3). This helped them keep the characters straight and discover any information they'd missed while reading.


Third, I typed and posted key parts of the text needed to solve the mystery. In our discussions, we kept coming back to these excerpts to avoid being totally misled (and not understanding the book at the end).


It worked! As we wrapped up the book this week, shouts of "This is really getting good!" and "I've figured out the REAL solution to the mystery!" reverberated against my classroom walls. Thank goodness for those walls. They've lifted my students to a higher level as readers.